Train. Compete. Recover.
A multi-purpose athletic facility in Speedway, Indiana — basketball leagues, skill training, and wellness services all under one roof.
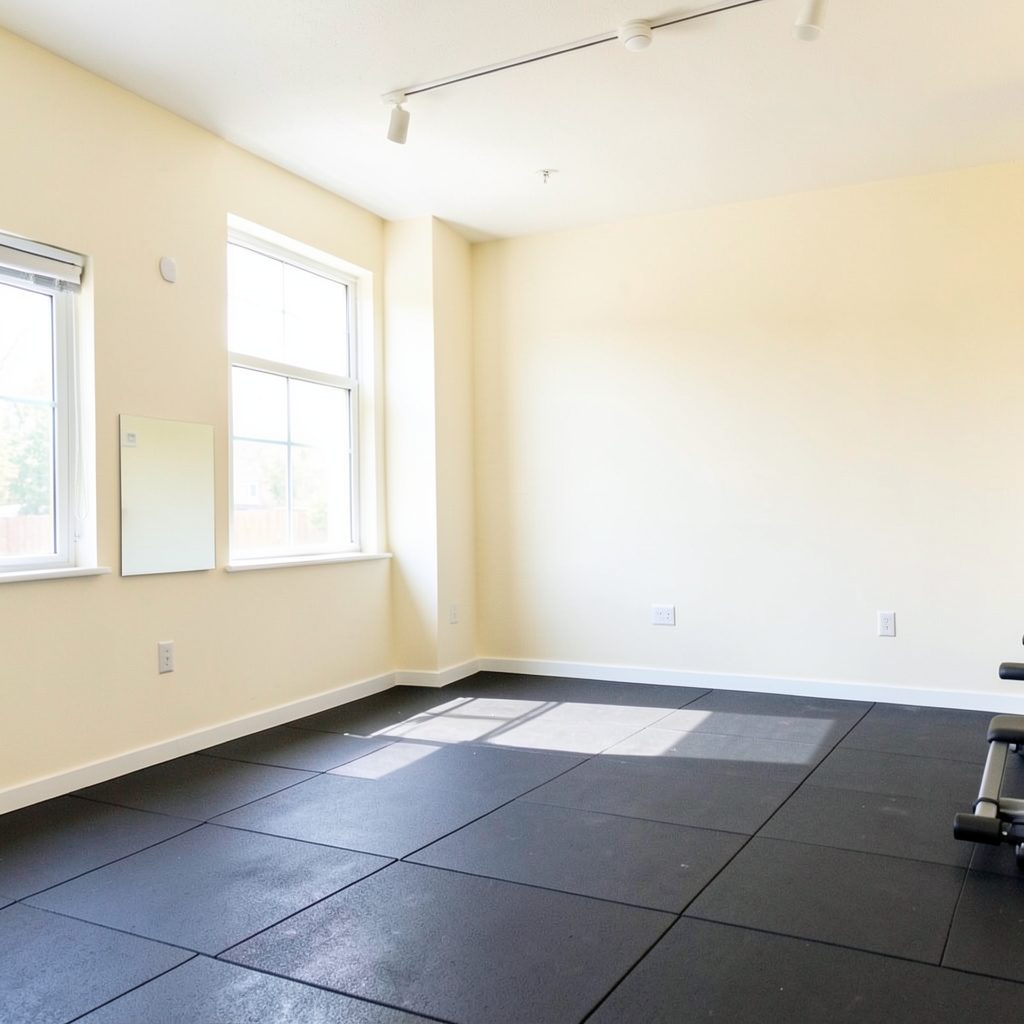
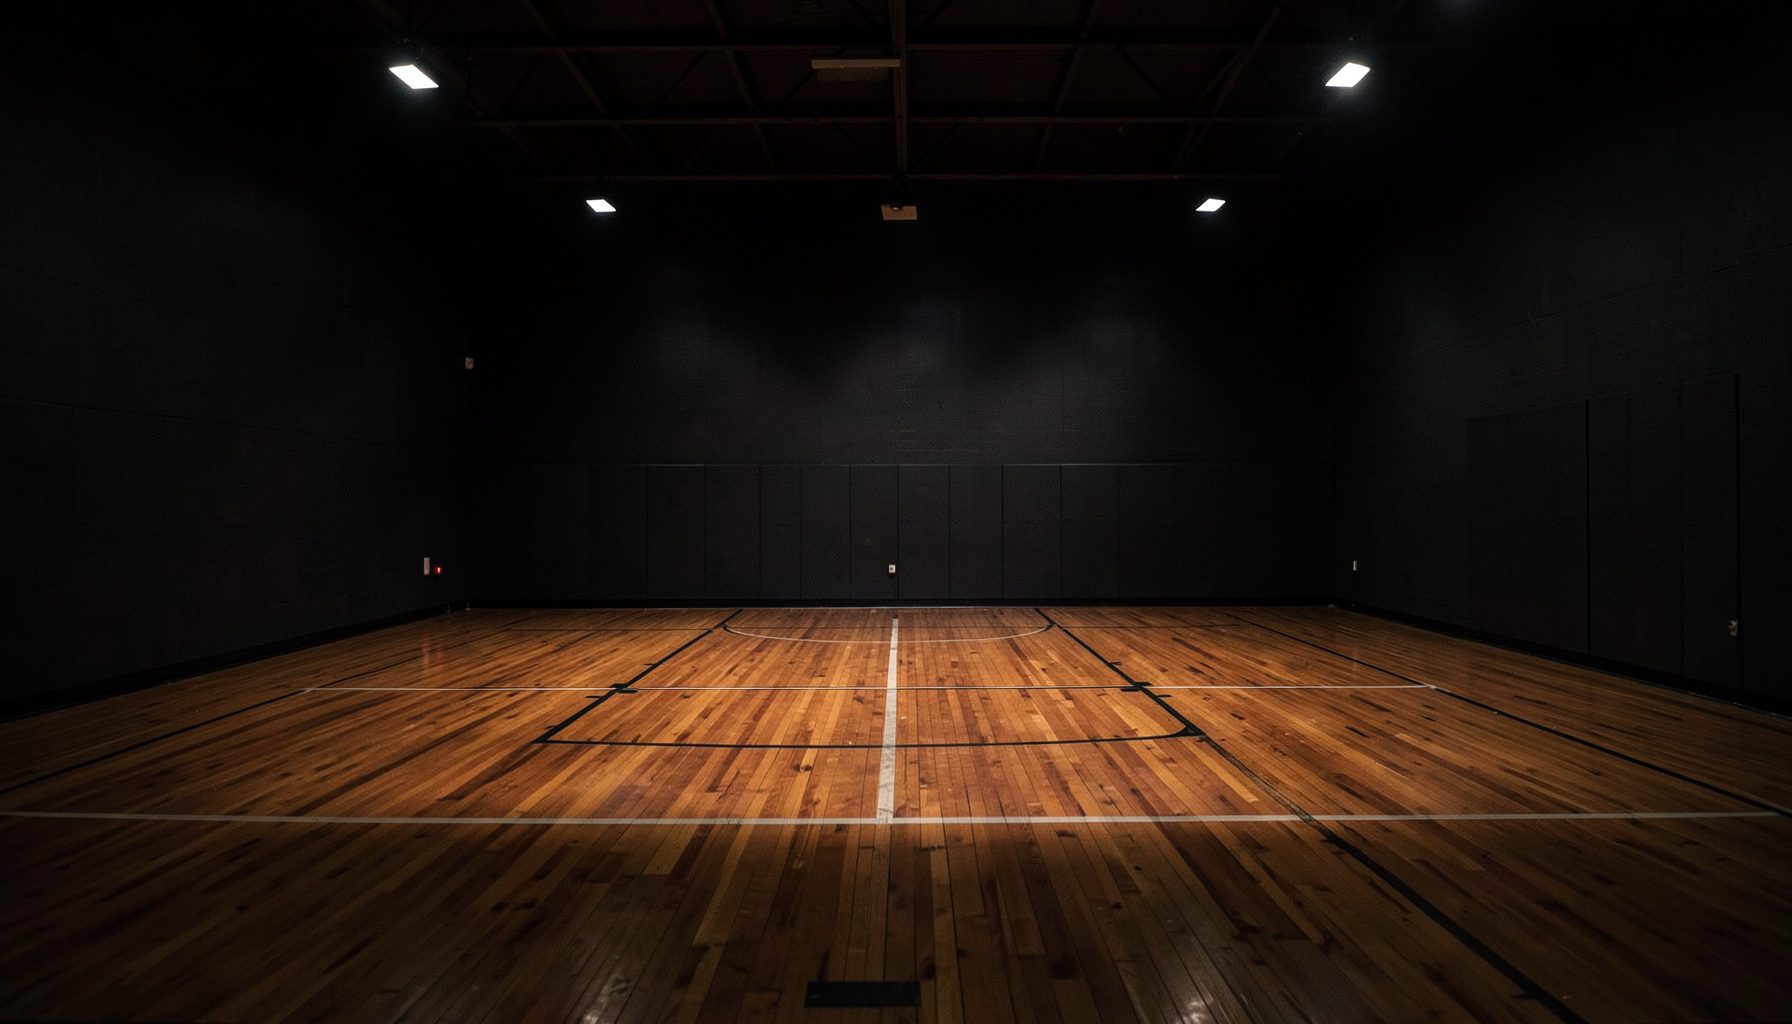
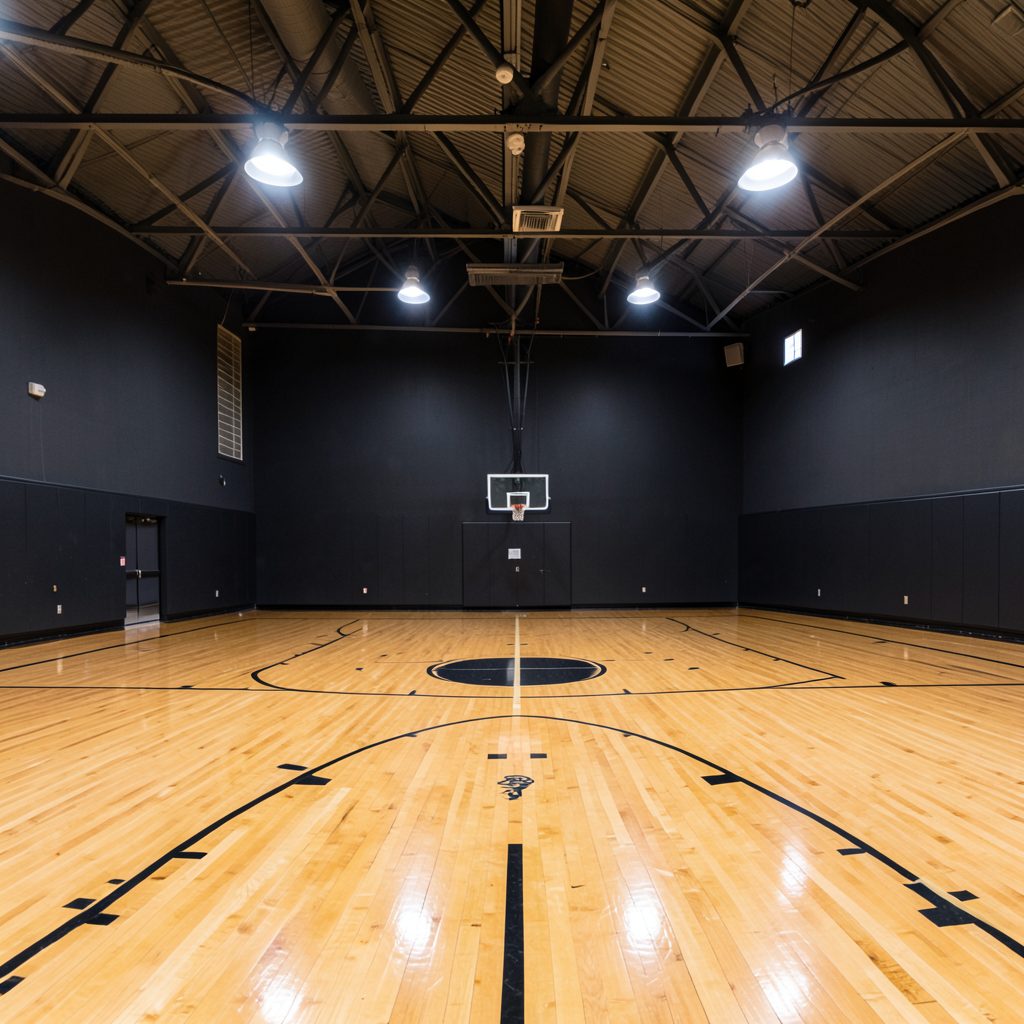
The Factory D1 Indy brings together three entities under one roof: competitive basketball leagues for all age groups, individual and group training, and wellness & recovery services including Normatec boot recovery and cryotherapy. Located off I-465 and High School Road at 6331 Crawfordsville Road, Speedway, Indiana 46224.
Get In TouchCreating A Defensive Slide Drill Progression For Youth Basketball
A strong youth basketball defense begins with movement, balance, and awareness rather than complicated plays. The defensive slide is one of the first skills players learn, yet it takes consistent practice to perform it under pressure. A well-designed progression helps young athletes move from basic stance work to live defensive decisions without rushing through essential details.
The goal is to develop lateral quickness while protecting the basket, staying connected to an opponent, and avoiding unnecessary fouls. Players should learn how to keep their chest in front of the ball, push from the floor, and recover when an attacker changes direction.
An effective workout also needs to match the athletes’ age and experience. A beginner may need short repetitions with frequent coaching, while an advanced youth player can handle closeouts, change-of-direction cues, and competitive games. Facilities such as Factory D1 Indy can support this development through basketball training, youth programs, leagues, and athletic conditioning opportunities.
Establish The Defensive Stance
Before teaching a slide, establish a position that allows the athlete to react in every direction. Feet should be slightly wider than shoulder width, knees bent, hips lowered, and weight balanced on the balls of the feet. The back should remain relatively straight, with the chest up and eyes forward.
Players should keep their hands active without reaching. One hand can discourage a pass or crossover while the other protects against a drive. Coaches should remind athletes that a low stance is useful only when it remains controlled; collapsing forward or sitting too low often slows the first step.
Begin with brief holds of five to ten seconds. Add simple commands such as “hands up,” “chest tall,” and “eyes forward.” These cues give young players clear points of focus instead of asking them to remember too many technical details at once.
Teach The Basic Lateral Slide
The first movement drill should remove speed and competition. Place two cones three to five feet apart. The player starts in a defensive stance, pushes off the outside foot, and slides toward the opposite cone. The trailing foot should recover without crossing over the lead foot.
The athlete should avoid bringing the feet together or clicking the heels. Each slide needs to be short, quiet, and balanced. Encourage players to push the floor away rather than hopping sideways. Their shoulders should stay level, and their hips should remain low throughout the repetition.
Use two or three slides in each direction before allowing the player to reset. For young beginners, two sets of 10 to 15 seconds are sufficient. As control improves, increase the distance slightly or add a third cone, but do not increase speed until the movement pattern is reliable.
Build A Clear Drill Progression
A progression should increase one demand at a time. Coaches can first add forward and backward movement, then introduce visual reactions, and finally allow an offensive player to make decisions. This sequence keeps the skill focused while gradually connecting footwork to game situations.
The following framework can be adjusted for age, group size, and practice time:
| Stage | Drill Focus | Coach’s Main Cue | Suggested Work |
|---|---|---|---|
| One | Stance hold and mirror posture | Stay balanced | 2–3 sets of 10 seconds |
| Two | Two-cone lateral slides | Push, do not hop | 3 trips each direction |
| Three | Three-cone defensive shuffle | Keep hips low | 3 rounds of 15 seconds |
| Four | Slide, sprint, and recover | Turn and find the ball | 4–6 repetitions |
| Five | Partner mirror drill | React without crossing feet | 3 rounds of 20 seconds |
| Six | Closeout into live containment | Brake under control | 4–6 possessions |
Rest periods should be long enough for players to maintain quality. When fatigue causes upright posture, crossed feet, or careless reaches, shorten the work interval or add recovery time. Youth athletes learn defensive habits through repetition, so poorly performed repetitions should not become the standard.
Add Direction Changes And Recovery
Once players can slide laterally, connect the movement to common basketball actions. A coach can point left or right, call a number, or use a ball as a visual trigger. The defender reacts, slides two steps, and returns to the middle position. This teaches players to move from a stance instead of standing tall before every action.
The next step is a slide-to-sprint drill. Set three cones in a shallow “V” shape. The player starts at the middle cone, slides toward one side, opens the hips, and sprints to the outside cone before recovering to the middle. Explain that opening the hips is appropriate when the offensive player has created separation, but the defender should avoid turning too early.
Closeouts can then be added. The defender begins several feet away, sprints toward an offensive player, breaks down with short steps, and transitions into a controlled slide. The final steps should reduce momentum so the defender can respond to a drive instead of flying past the ball.
Introduce Partner And Game-Like Drills
A mirror drill develops reaction speed without requiring a basketball. Two players face each other in defensive stances inside a marked area. The leader slides, retreats, or takes a short angle, while the defender mirrors the movement. Keep the area small enough to encourage control and large enough to prevent collisions.
Start with predetermined movements, such as two slides left, two slides right, and one retreat. Later, let the leader move freely for 10 to 20 seconds. Rotate roles often so every player experiences both decision-making and defensive reaction. The emphasis should remain on staying square and maintaining a manageable distance.
For a more realistic challenge, use a one-on-one containment drill beginning from the wing. The offensive player gets a limited number of dribbles, while the defender earns a point for forcing a change of direction, stopping the drive, or keeping the attacker outside a marked lane. Avoid rewarding steals as the only successful outcome. Good positioning and disciplined footwork are valuable defensive wins.
Coach Technique, Safety, And Progress
Youth players respond best to short, specific feedback. Instead of saying “move faster,” use cues such as “push from the floor,” “keep your nose over your toes,” or “show your chest.” Demonstrate the movement from the side and front so athletes can see the difference between a slide, a hop, and a crossover step.
Safety should guide the pace of every session. Use adequate spacing, secure footwear, and a floor free of loose equipment. Teach players to communicate when they are entering a shared lane. If an athlete reports pain, shows unusual limping, or cannot maintain balance, stop the drill and address the issue rather than pushing through the repetition.
Progress can be measured through consistency rather than speed alone. Track whether a player maintains stance height, keeps the feet from crossing, finishes closeouts under control, and recovers after being beaten. These observations provide a clearer picture of defensive improvement than a timed shuffle by itself.
Practice Priorities For Coaches
A simple coaching checklist keeps defensive footwork sessions focused:
- Begin with stance control before adding movement or competition.
- Use short repetitions so athletes can maintain technique and attention.
- Progress from cones to reactions, then from reactions to live containment.
- Reward positioning, communication, and recovery instead of reaching for steals.
- Finish with a brief review of one strength and one skill to improve.
Ages and ability levels should shape the drill design. Younger athletes may need colorful markers, shorter distances, and frequent demonstrations. Older players can handle offensive constraints, scoring systems, and more complex closeout angles. In every group, the standard remains the same: balanced feet, active hands, controlled hips, and a commitment to staying between the ball and the basket.
A defensive slide progression becomes effective when players understand why each stage matters. Basic posture creates balance, lateral movement creates positioning, and live repetitions teach decision-making. Over time, these connected skills help young athletes defend with confidence rather than panic.
Build the progression into regular practices, small-group workouts, or youth basketball sessions, and give players enough repetitions to make the movement instinctive. Training in a structured athletic environment can add coaching support, competitive opportunities, and conditioning that reinforce defensive habits. Register for a basketball program or visit Factory D1 Indy to put these principles into action.
Inside The Factory

Three Entities, One Roof
Leagues
Eight league divisions span every age group: Indy Pro AM, 18+ Open Men's, 30+ Men's, Bite Size (ages 3–6), Impact League, 5th/6th Grade, Middle School, and High School. Gather your team and compete.
Training
Individual and group basketball training for all skill levels. Major M.O.V.E.S. Basketball Training serves ages 4–7 on Wednesday and Thursday evenings at 6:30 PM — $30 per session or $100 unlimited monthly.
Wellness & Recovery
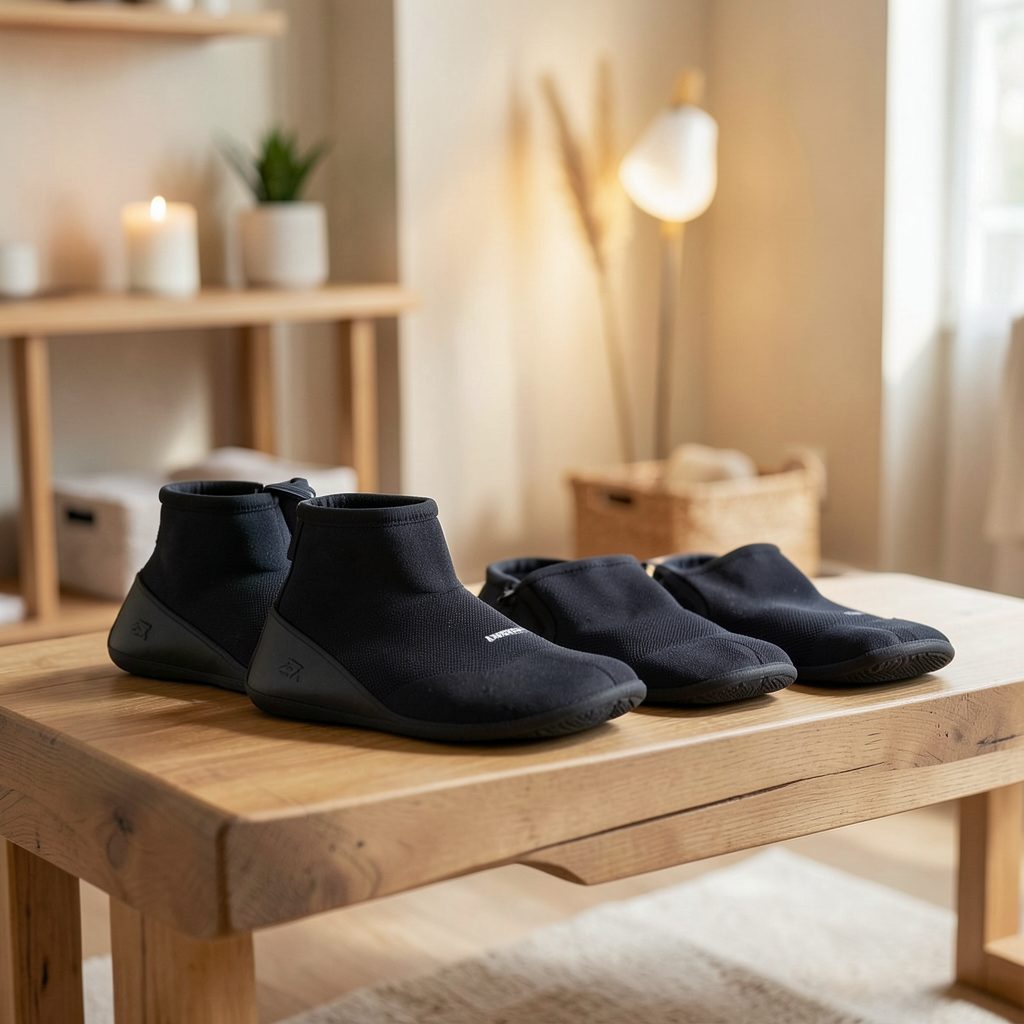
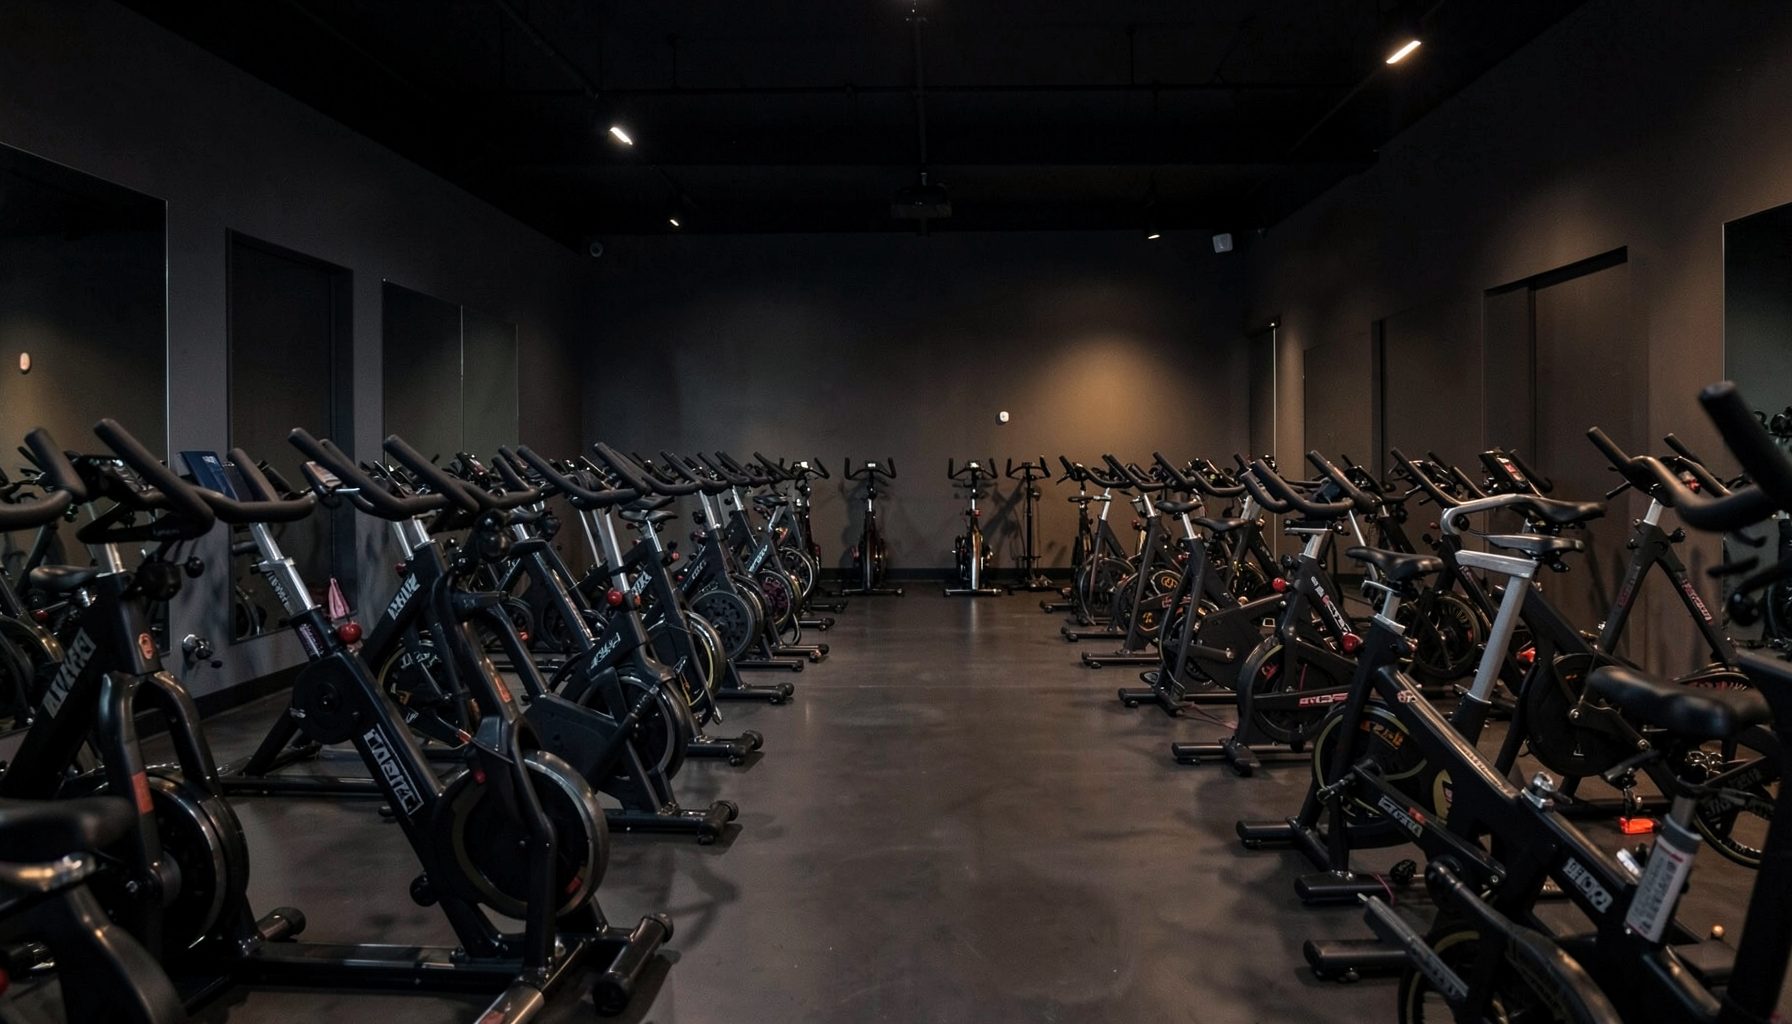
Normatec boot recovery and cryotherapy treatments help athletes bounce back faster. Cycle and spin classes add a cardio dimension to the holistic performance approach.
Have a Question?