Train. Compete. Recover.
A multi-purpose athletic facility in Speedway, Indiana — basketball leagues, skill training, and wellness services all under one roof.
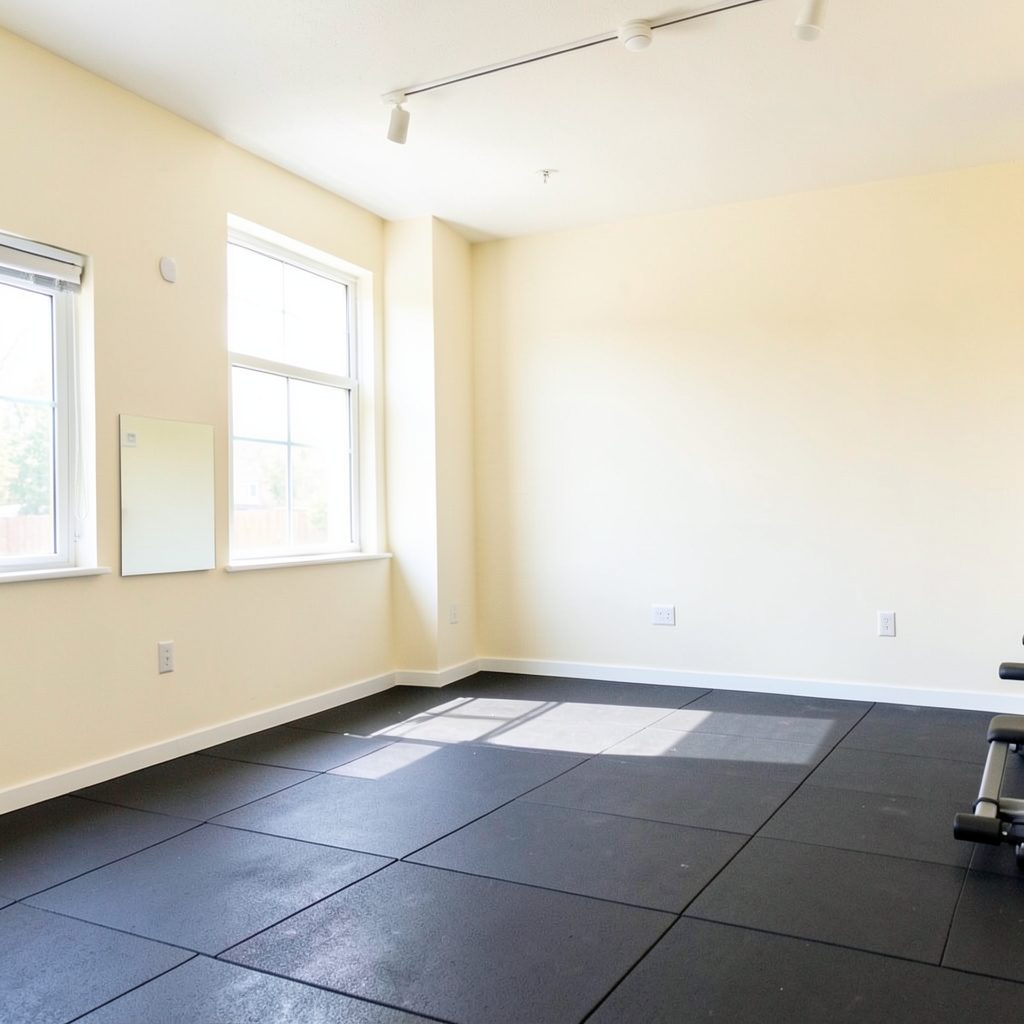
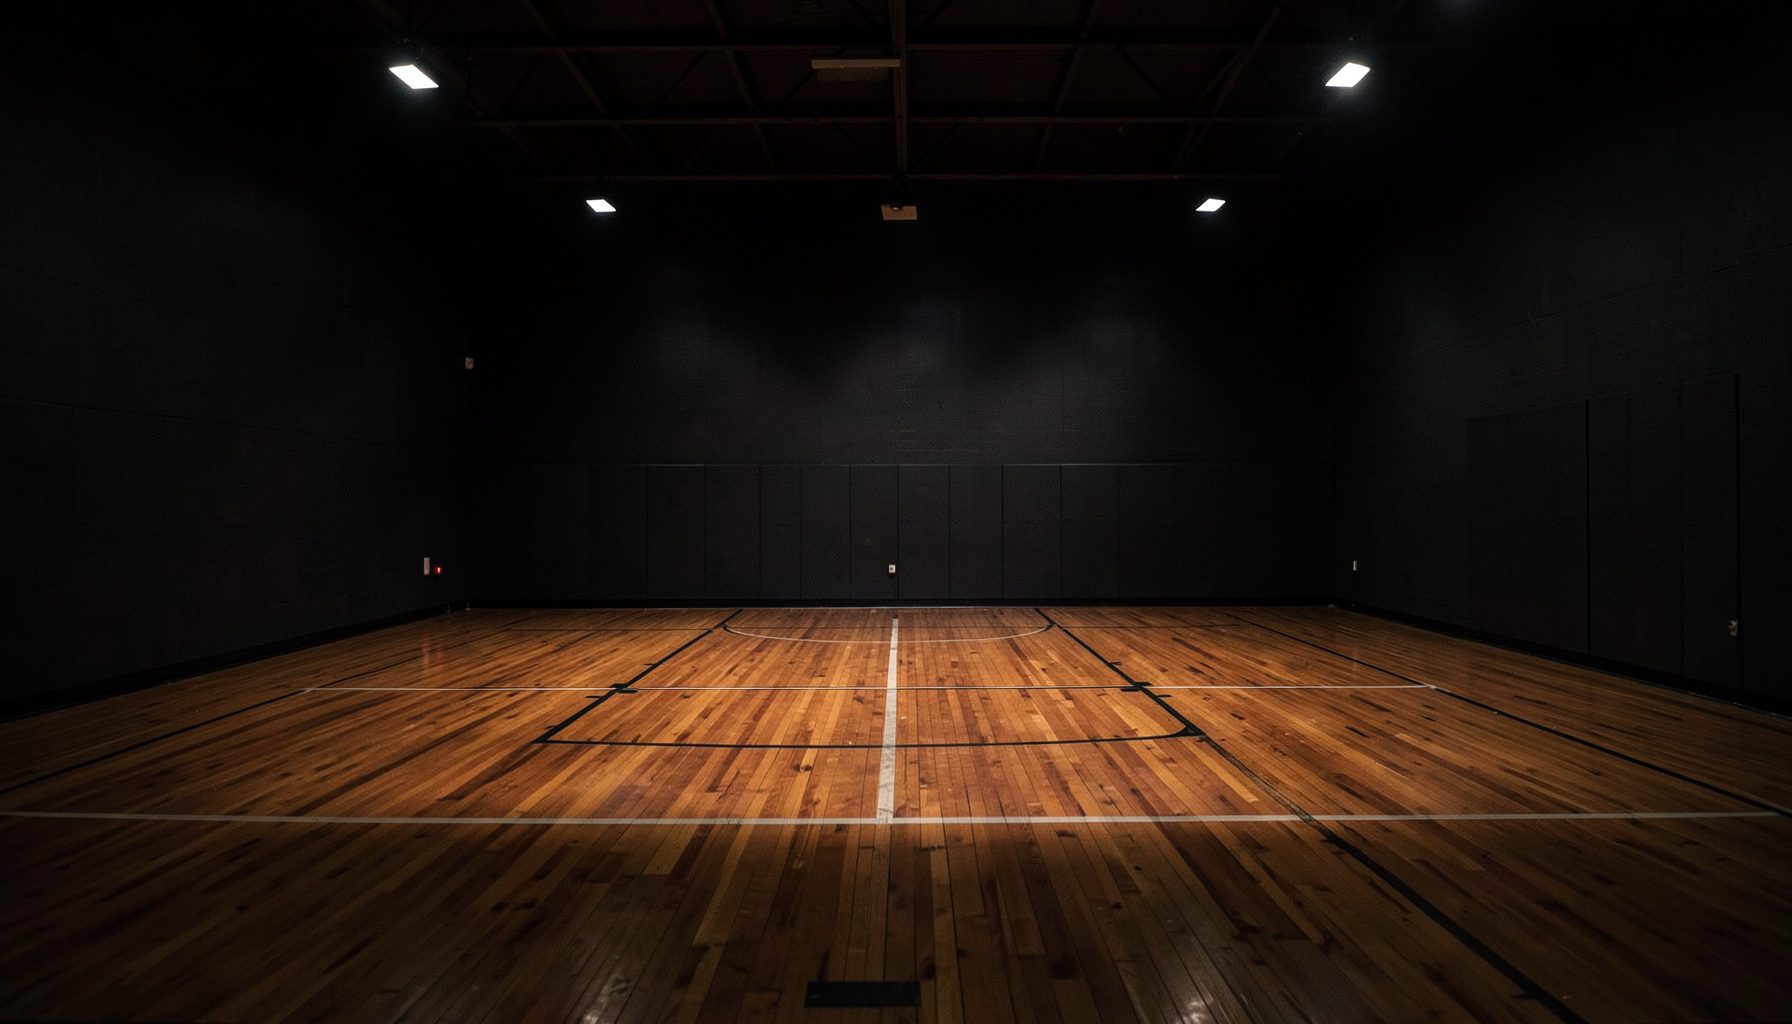
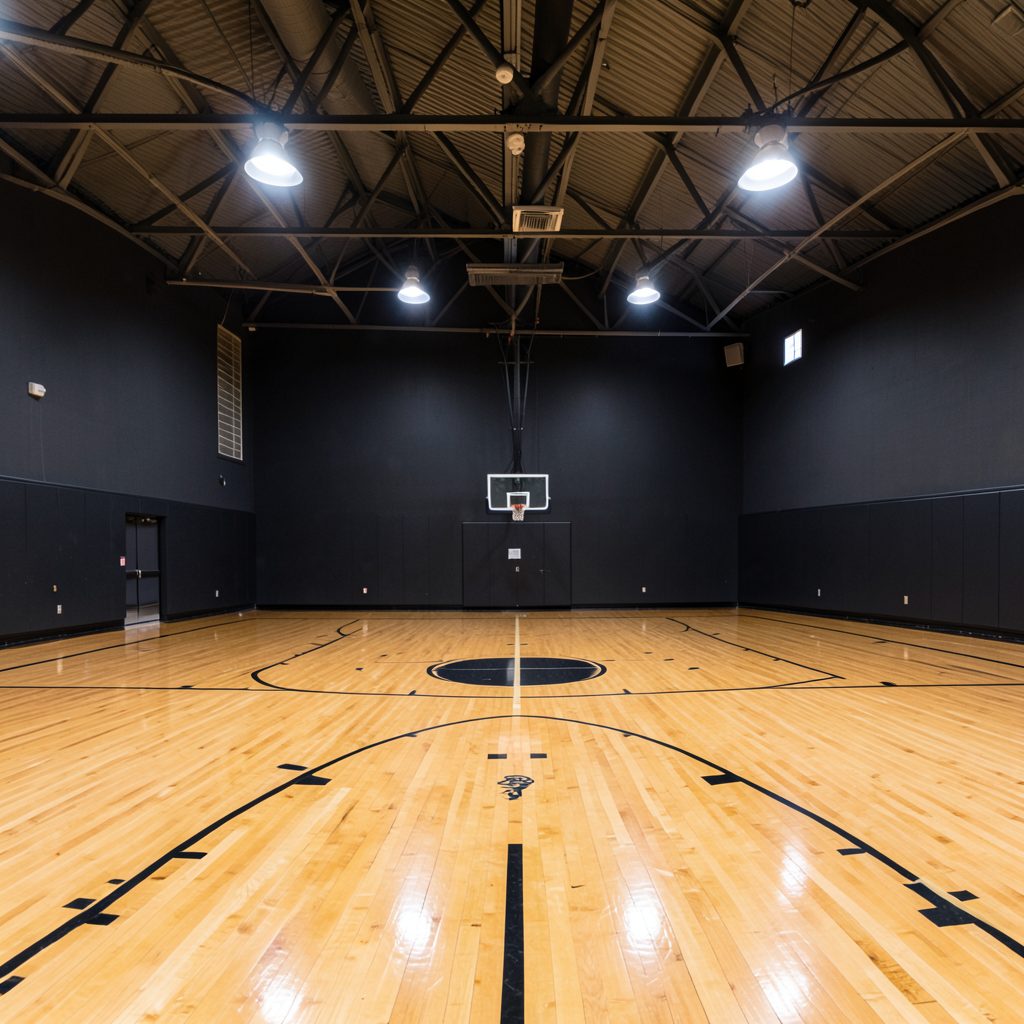
The Factory D1 Indy brings together three entities under one roof: competitive basketball leagues for all age groups, individual and group training, and wellness & recovery services including Normatec boot recovery and cryotherapy. Located off I-465 and High School Road at 6331 Crawfordsville Road, Speedway, Indiana 46224.
Get In TouchSpin Bike Setup Tips For Comfortable Long Rides
A long spin session should challenge your legs and lungs without leaving your knees, hips, hands or lower back feeling battered. Small adjustments to the bike can make a substantial difference, particularly when you are riding for endurance rather than completing a short, high-intensity interval block.
Whether you are training at home, joining a studio class in Melbourne or Brisbane, or visiting The Factory D1 Indy for conditioning and fitness, take a few minutes to set up properly. A well-positioned bike supports smoother pedalling, better power transfer and a more enjoyable ride from warm-up through to the final interval.
Start With A Neutral Bike Position
Before changing individual settings, stand beside the bike and check its overall proportions. The saddle should sit around hip-bone height as a starting point, while the handlebars need to allow a relaxed reach rather than forcing you to hunch or stretch forward.
Every bike feels slightly different, so treat these measurements as a beginning rather than a fixed rule. Tall riders may need a higher seat and longer reach, while shorter riders often need the handlebars closer. Your body should look balanced from the side, with your spine long and your shoulders away from your ears.
Wear the shoes and cycling kit you will use during class when possible. Padded shorts can change how high you sit, and cycling shoes may alter your foot position compared with ordinary trainers. A quick setup before the instructor starts is easier than trying to solve discomfort halfway through a hard effort.
Set Saddle Height For Smooth Pedalling
At the bottom of the pedal stroke, your knee should retain a slight bend. If your leg locks out, the saddle is probably too high. If your knee remains deeply bent, the saddle may be too low, which can place extra strain around the front of the knee and make every revolution feel cramped.
A useful test is to pedal slowly with your heels resting on the pedals. Your legs should extend without your hips rocking from side to side. When you return to your normal foot position, that usually creates an appropriate amount of knee flexion for steady riding.
Pay attention to how the adjustment feels after ten minutes, not just during the first few pedal strokes. Saddle height that seems comfortable during an easy warm-up can become problematic once resistance increases. If your hips sway, reduce the height slightly; if your knees feel crowded, raise it in small increments.
Check Saddle Fore And Aft Position
Saddle position also affects how your knees track and how much weight you place on your hands. When the pedals are level, the knee of your forward leg should sit roughly over the centre of the pedal. This is a practical reference point rather than a medical assessment, but it helps prevent an excessively stretched or compressed position.
A saddle pushed too far back can make the reach to the handlebars feel long and may encourage you to pull through the lower back. A saddle too far forward can leave the knees working ahead of the feet and make climbs feel unusually demanding.
Make only one adjustment at a time, then pedal for a few minutes. In busy Australian studios, it is common to arrive for an early-morning class or an after-work “arvo” session with limited setup time, so learn your preferred settings and record the numbers on your phone.
Place The Handlebars At A Usable Height
Handlebars should let you support your upper body without collapsing through the shoulders. For a long ride, a slightly higher position is often more comfortable than an aggressive, low racing setup. Beginners, riders with tight hips and anyone managing lower-back sensitivity may benefit from raising the bars.
Keep a soft bend in your elbows and avoid gripping the bars as if you are hanging on during a sprint. Your hands should guide your body, not carry all your weight. Change hand positions regularly between the tops, centre and supported portions of the handlebars, following the studio bike’s design.
If you feel pressure in your neck, numbness in your fingers or aching across the shoulders, your reach may be too long or your handlebars too low. A bike fit that works for a short spin can become uncomfortable on a 60-minute endurance ride, especially in a warm, humid Queensland studio or during summer training.
Secure Your Feet And Knees
Your foot should sit centrally over the pedal, with the ball of the foot positioned near the pedal axle. If the toes point sharply downward throughout the stroke, the saddle may be too high or you may be overreaching. Aim for a stable ankle and a controlled movement rather than forcing a dramatic heel drop.
For clip-in systems, check that both cleats release easily before the class begins. For trainers, tighten the straps enough to keep your feet secure without cutting off circulation. Loose straps encourage the foot to slide, while excessive tension can create pressure across the top of the foot.
Watch your knee line as you pedal. The knees should generally track in the same direction as the toes, rather than dropping inward or pushing widely out. Resistance that is too high can make it harder to maintain good alignment, so reduce the load when your form starts to deteriorate.
Reduce Pressure Points Before They Build
Saddle discomfort is common on longer rides, but it should not be treated as something you simply have to endure. A saddle that is too high, tilted incorrectly or poorly matched to your sit bones can create pressure and friction within minutes.
Keep the saddle level unless a qualified professional has given you a specific reason to change its angle. A nose tilted sharply down can make you slide forward and place more weight on your hands. A nose tilted up may increase pressure at the front of the pelvis and restrict movement.
Cycling shorts with a suitable chamois can help, but loose layers may bunch and rub. Use a clean towel, stay dry where possible and tell the instructor if the bike feels wrong. Australian gyms and boutique studios often have different brands of indoor cycles, so do not assume the settings from your home bike will transfer exactly to every machine.
Prepare Your Body For A Longer Session
A comfortable setup works best when your body is prepared for the workload. Begin with several minutes of easy pedalling, gradually increasing resistance rather than jumping straight into a steep climb. This gives you time to notice whether the seat, bars or pedals need another small adjustment.
Hydration matters during indoor riding because rooms can become warm quickly, particularly in Sydney summer or a crowded studio with limited airflow. Drink before class and keep water within reach. For longer sessions or heavy sweaters, an appropriate electrolyte drink may be useful, but avoid trying a new product for the first time during a demanding workout.
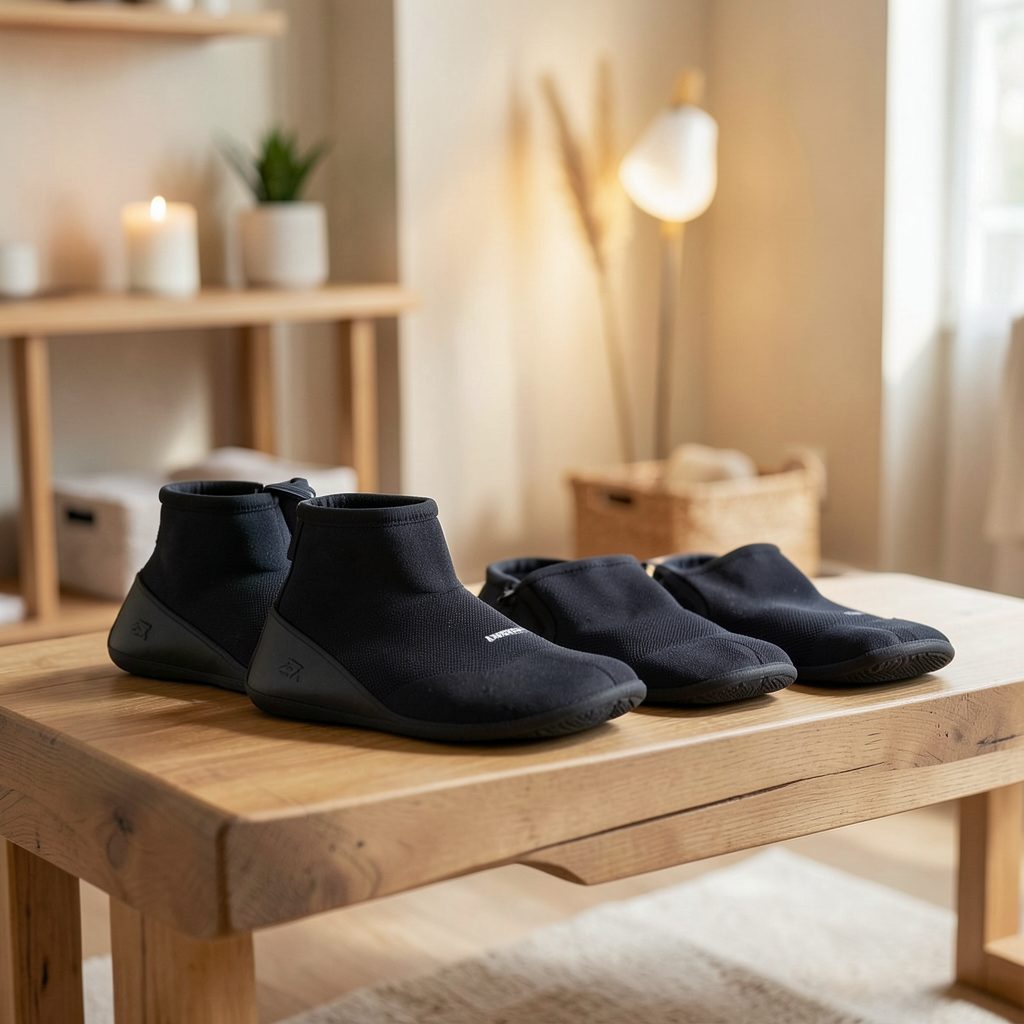
Recovery can also affect how comfortable you feel on the next ride. Light mobility for the hips, calves and thoracic spine may reduce stiffness after training. Some athletes use compression recovery as part of their routine; this Normatec session guide explains how a session may fit before a spin workout.
Adjust During The Ride
The best bike setup is responsive rather than permanent. After the warm-up, reassess your hands, shoulders, hips and knees. If your fingers begin to tingle, release your grip and change hand position. If your hips rock, lower the saddle slightly. If the front of your knees starts to ache, reduce resistance and check whether the seat is too low or too far forward.
Use the bike’s resistance to maintain control instead of chasing a number on the display. A cadence that feels smooth and sustainable is generally preferable to grinding slowly with the pedals. During standing efforts, keep your weight centred over the bike and avoid pulling heavily on the handlebars.
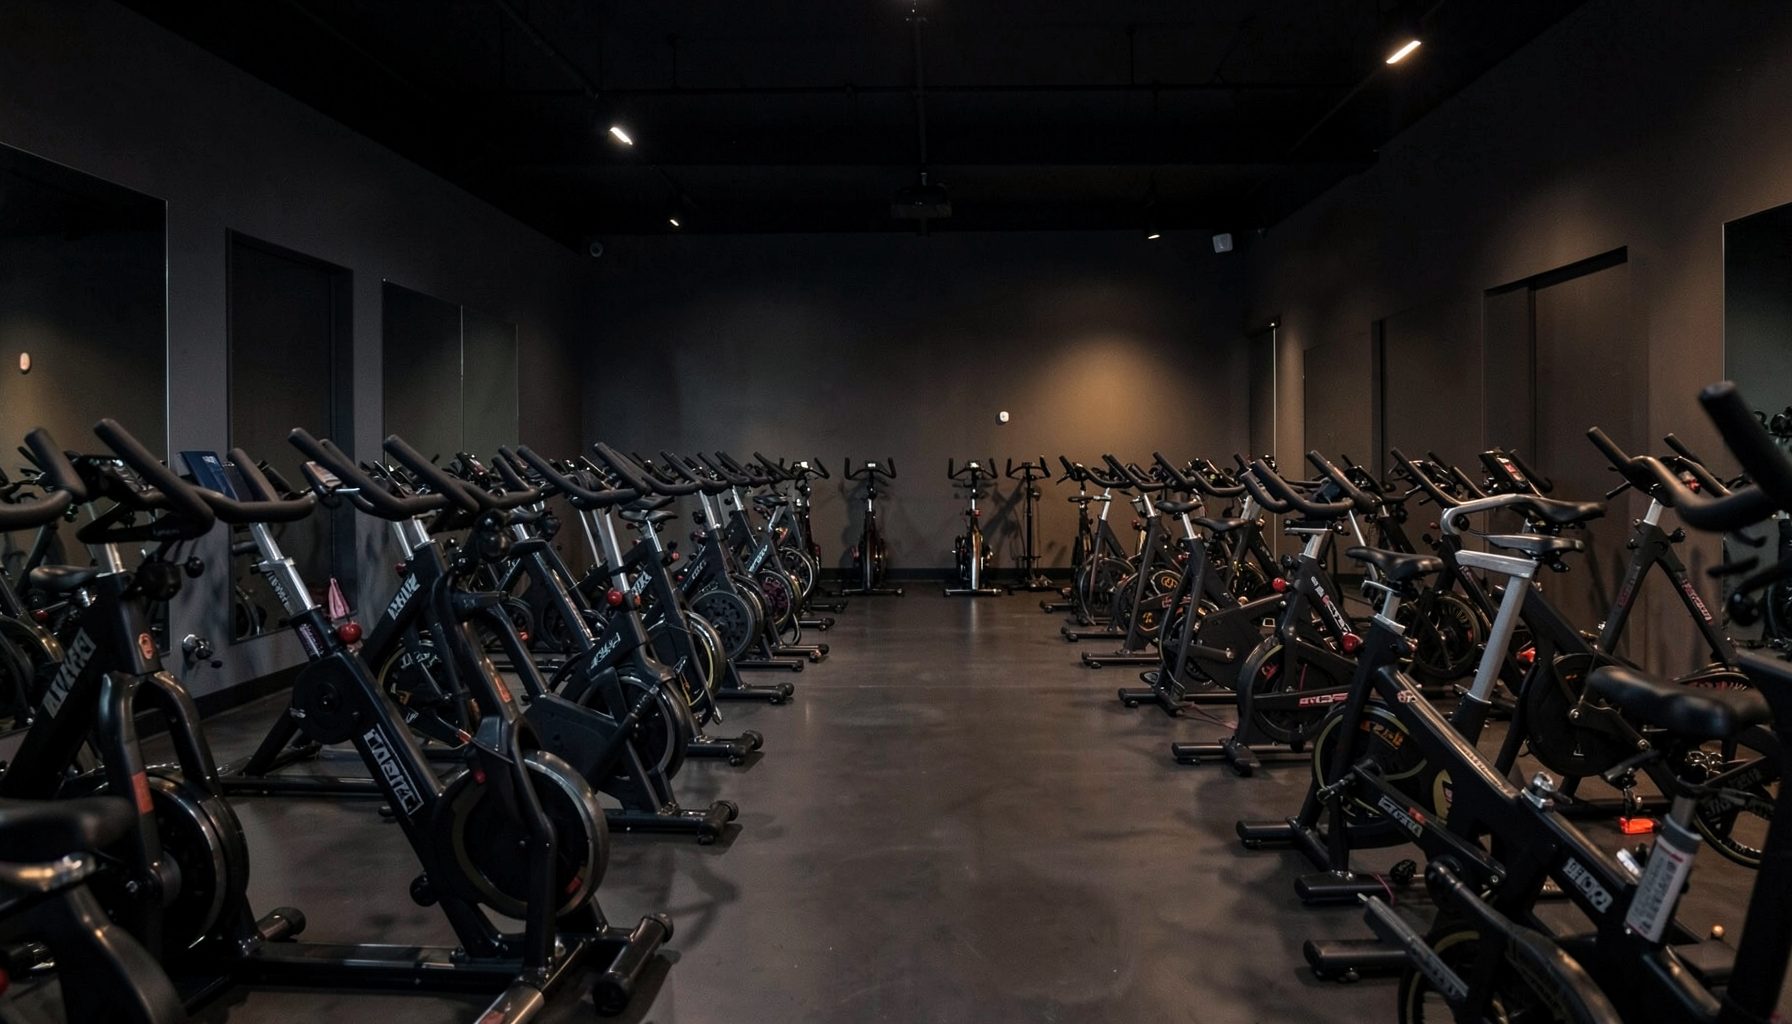
At a facility such as The Factory D1 Indy, instructors can often help with saddle height, handlebar reach and resistance technique before class. Asking for a quick check is sensible, whether you are building fitness for basketball, returning after a break or preparing for a cycling event. Good form should make the work feel purposeful, not punishing.
Take these setup habits into every session: check the saddle, confirm the reach, secure your feet, start gradually and respond early to discomfort. Book a spin class or training session at The Factory D1 Indy to put a more comfortable, efficient ride into practice alongside conditioning and recovery support.
Inside The Factory

Three Entities, One Roof
Leagues
Eight league divisions span every age group: Indy Pro AM, 18+ Open Men's, 30+ Men's, Bite Size (ages 3–6), Impact League, 5th/6th Grade, Middle School, and High School. Gather your team and compete.
Training
Individual and group basketball training for all skill levels. Major M.O.V.E.S. Basketball Training serves ages 4–7 on Wednesday and Thursday evenings at 6:30 PM — $30 per session or $100 unlimited monthly.
Wellness & Recovery
Normatec boot recovery and cryotherapy treatments help athletes bounce back faster. Cycle and spin classes add a cardio dimension to the holistic performance approach.
Have a Question?